
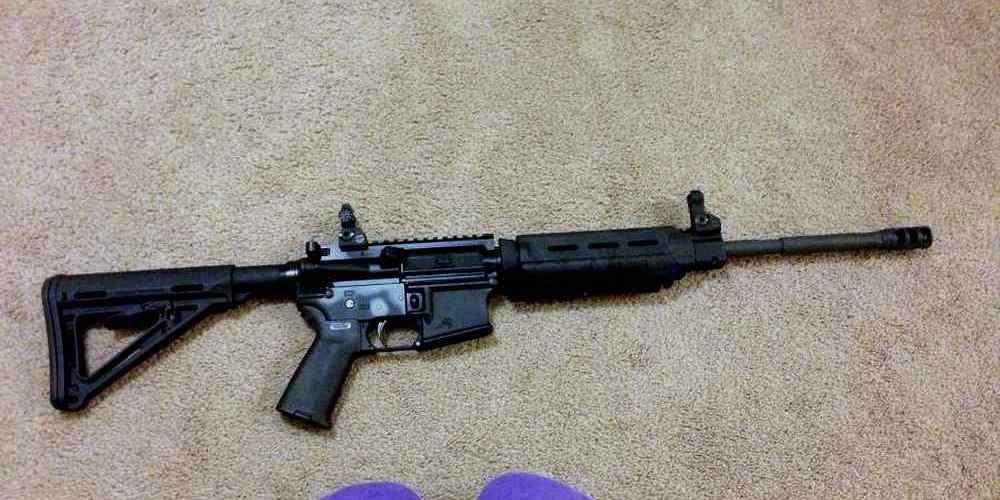
How to Assemble an AR-15 From Parts
Building your own AR-15 from parts can be a rewarding and cost-effective way to customize your firearm to your exact specifications. Whether you’re a seasoned gun enthusiast or a beginner looking to learn more about the inner workings of this popular rifle, assembling an AR-15 from parts is a great way to gain hands-on experience and tailor your gun to your specific needs.
Gather Your Parts and Tools
The first step in assembling an AR-15 from parts is to gather all the necessary components and tools. Here’s a list of the basic parts you’ll need:
- Stripped lower receiver
- Lower parts kit
- Buffer tube assembly
- Stripped upper receiver
- Barrel
- Handguard
- Bolt carrier group
- Charging handle
- Sights or optics
In addition to the parts listed above, you’ll also need some basic tools to help you assemble your AR-15. These may include:
- Armorer’s wrench
- Punch set
- Screwdriver set
- Hammer
- Vise block or vice grip
- Gun oil or lubricant
Assemble the Lower Receiver
The lower receiver is the part of the AR-15 that is legally considered the firearm. Assembling the lower receiver involves installing the trigger group, magazine release, safety selector, and other components. Here’s a basic overview of how to assemble the lower receiver:
- Insert the magazine catch into the lower receiver.
- Install the trigger guard.
- Insert the trigger group into the lower receiver.
- Attach the pistol grip.
- Install the buffer tube assembly.
Once you’ve completed these steps, your lower receiver should be fully assembled and ready for the next stage of assembly.
Assemble the Upper Receiver
The upper receiver of an AR-15 houses the bolt carrier group, barrel, handguard, and charging handle. Assembling the upper receiver involves attaching these components together in the correct order. Here’s how to assemble the upper receiver:
-
Attach the barrel to the upper receiver using a barrel nut.
Install the handguard onto the barrel.
Insert the bolt carrier group into the upper receiver.
Attach the charging handle to the upper receiver.
Once you’ve completed these steps, your upper receiver should be fully assembled and ready to be attached to your lower receiver.
Complete Assembly and Function Check
Once you’ve assembled both the lower and upper receivers, it’s time to put them together and perform a function check. Here’s how to complete assembly of your AR-15:
-
Attach the upper receiver to the lower receiver by pushing out pins on both receivers.
Rack the charging handle back and release it to ensure proper function of bolt carrier group.
Cycle through several rounds using an empty magazine to ensure proper feeding and ejection.
If everything checks out during your function test, congratulations! You’ve successfully assembled your own AR-15 from parts. Be sure to clean and lubricate your firearm before taking it out for a test fire at a safe shooting range.
In Conclusion
Assembling an AR-15 from parts can be a challenging but rewarding experience for gun enthusiasts of all skill levels. By following these steps and taking your time with each component, you can build a custom AR-15 that meets your exact specifications and preferences. Remember to always follow safety guidelines when handling firearms and consult with experts if you encounter any difficulties during assembly. Enjoy your newly built AR-15 and happy shooting!
