Master the ins and outs of AR15 BCG assembly and disassembly with this comprehensive tutorial.

Benefits of Regularly Cleaning and Maintaining Your AR15 BCG
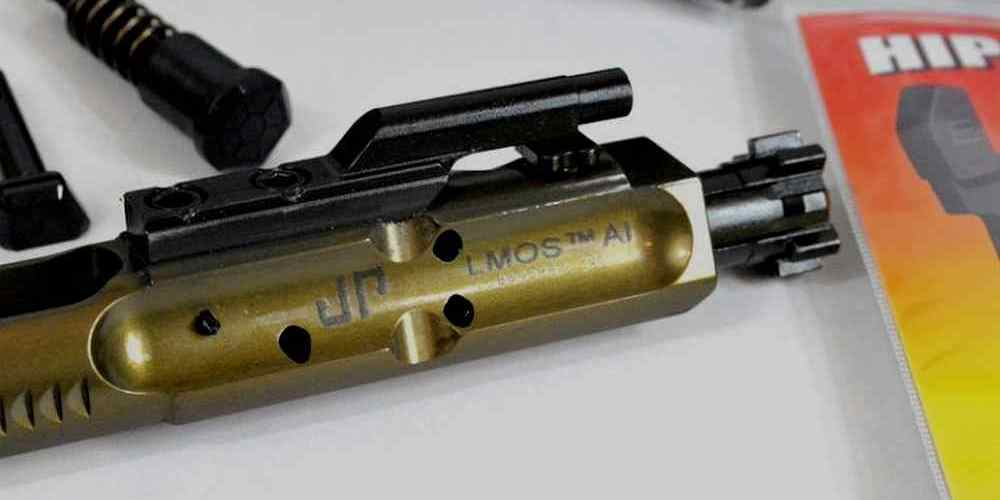
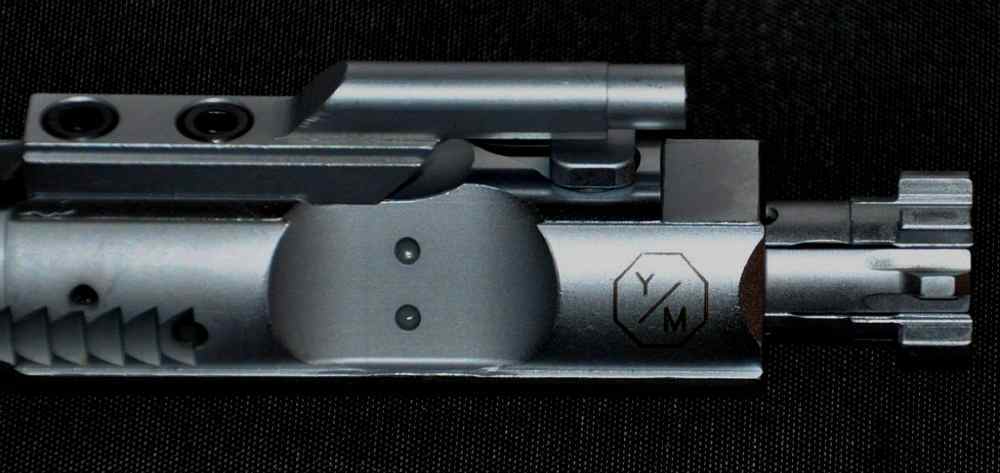
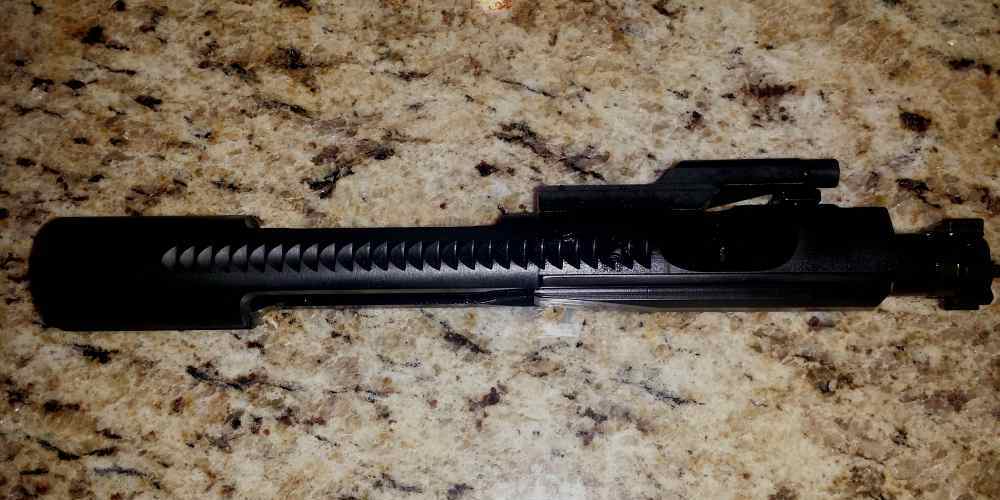
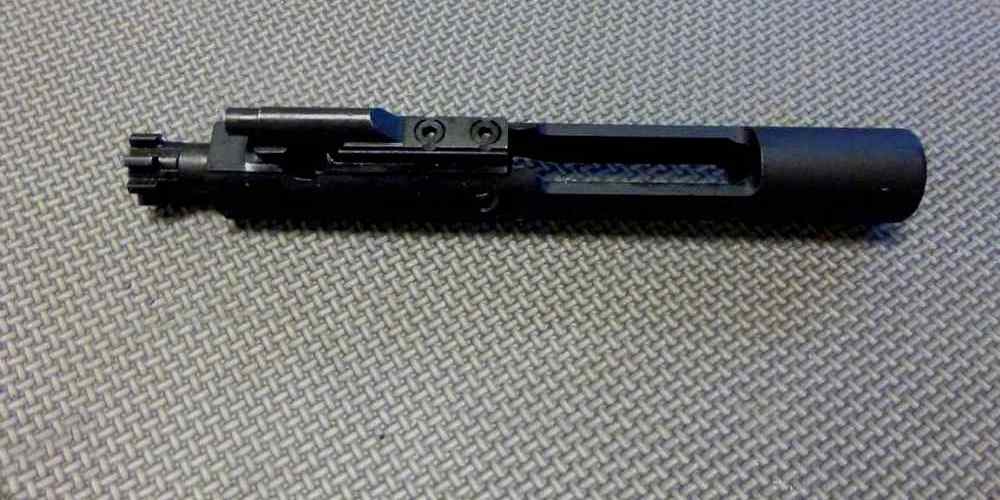
If you own an AR15 rifle, you know how important it is to keep it clean and well-maintained. One of the key components of the AR15 is the bolt carrier group (BCG), which plays a crucial role in the rifle’s operation. Regularly cleaning and maintaining your AR15 BCG is essential to ensure its reliability and longevity. One of the main benefits of regularly cleaning and maintaining your AR15 BCG is that it helps prevent malfunctions and failures. Over time, carbon and fouling can build up on the BCG, causing it to become sluggish and less reliable. By cleaning your BCG regularly, you can remove these deposits and ensure that your rifle functions properly when you need it most. Another benefit of regular maintenance is that it can help extend the life of your ar15 bcg. By keeping your BCG clean and well-lubricated, you can prevent excessive wear and tear on the components. This can help prolong the life of your BCG and save you money in the long run by avoiding costly repairs or replacements. Regular maintenance also allows you to inspect your BCG for any signs of damage or wear. By taking the time to clean and inspect your BCG regularly, you can catch any issues early on and address them before they become more serious. This can help prevent catastrophic failures and keep your rifle in top working condition. In addition to preventing malfunctions and extending the life of your BCG, regular maintenance can also improve the overall performance of your AR15. A clean and well-maintained BCG will cycle more smoothly and reliably, leading to better accuracy and consistency when shooting. By taking the time to care for your BCG, you can ensure that your rifle performs at its best every time you take it to the range. Now that you understand the benefits of regularly cleaning and maintaining your AR15 BCG, let’s walk through the process of disassembling and assembling your BCG. This tutorial will guide you through the steps to properly clean and inspect your BCG, ensuring that it remains in top working condition. To begin, you will need to remove the BCG from your AR15 rifle. Start by pulling back the charging handle to lock the bolt to the rear. Then, push out the takedown pin and pivot the upper receiver away from the lower receiver. This will allow you to access the BCG inside the upper receiver. Next, remove the charging handle by pulling it out of the upper receiver. Then, push the bolt carrier group forward and out of the upper receiver. You can now disassemble the BCG by removing the firing pin retaining pin, firing pin, cam pin, and bolt from the carrier. Once you have disassembled the BCG, you can begin cleaning the individual components. Use a solvent and a brush to remove carbon and fouling from the parts, paying special attention to the bolt face and gas rings. Once the parts are clean, dry them thoroughly and apply a light coat of lubricant before reassembling the BCG. To reassemble the BCG, start by inserting the bolt into the carrier and securing it with the cam pin. Then, insert the firing pin and secure it with the retaining pin. Finally, slide the BCG back into the upper receiver, making sure it is properly aligned with the charging handle. By following these steps to disassemble and assemble your AR15 BCG, you can ensure that it remains clean, well-maintained, and ready for action. Regularly cleaning and maintaining your BCG is essential to the performance and longevity of your AR15 rifle, so be sure to make it a priority in your maintenance routine. Your rifle will thank you with reliable performance and consistent accuracy every time you pull the trigger.

Step-by-Step Guide to Disassembling Your AR15 BCG
If you own an AR15 rifle, you know how important it is to properly maintain and clean your firearm. One crucial component of the AR15 is the bolt carrier group (BCG), which plays a vital role in the functioning of the rifle. In this comprehensive tutorial, we will guide you through the step-by-step process of disassembling your AR15 BCG. Before we begin, it is important to ensure that your firearm is unloaded and the safety is engaged. Safety should always be your top priority when handling firearms. Once you have confirmed that your firearm is safe, you can proceed with disassembling the BCG. The first step in disassembling your AR15 BCG is to remove the BCG from the rifle. To do this, simply pull back the charging handle and remove the BCG from the upper receiver. Once you have removed the BCG, you can begin the disassembly process. The next step is to remove the firing pin retaining pin. This pin is located at the rear of the BCG and holds the firing pin in place. Using a small punch or screwdriver, push the retaining pin out of the BCG. Be careful not to lose this pin, as it is a small and easily misplaced part. With the retaining pin removed, you can now remove the firing pin from the BCG. Simply slide the firing pin out of the rear of the BCG. Set the firing pin aside in a safe place, as you will need it for reassembly later. The next component to remove is the cam pin. The cam pin is located at the top of the BCG and is responsible for rotating the bolt as the rifle is fired. To remove the cam pin, simply rotate it 90 degrees and pull it out of the BCG. Set the cam pin aside with the firing pin. With the cam pin removed, you can now remove the bolt from the BCG. To do this, simply slide the bolt out of the rear of the BCG. The bolt is the heart of the BCG and is responsible for chambering and extracting rounds from the rifle. Once you have removed the bolt, you can now clean and inspect each component of the BCG. It is important to thoroughly clean each part of the BCG to ensure proper functioning of your rifle. Use a cleaning solvent and a brush to remove any carbon buildup or debris from each component. After cleaning the components, inspect them for any signs of wear or damage. Pay close attention to the bolt face and the gas rings on the bolt. If any components show signs of wear, it may be necessary to replace them to ensure the reliability of your rifle. Once you have cleaned and inspected each component, you can begin reassembling your AR15 BCG. Start by inserting the bolt back into the BCG, followed by the cam pin, firing pin, and retaining pin. Make sure each component is properly seated and secured in place. With your AR15 BCG reassembled, you can now reinstall it into your rifle and function test it to ensure proper operation. By following this comprehensive tutorial, you can confidently disassemble and reassemble your AR15 BCG with ease. Proper maintenance and care of your firearm will ensure its reliability and longevity for years to come.
Common Mistakes to Avoid When Reassembling Your AR15 BCG
When it comes to assembling and disassembling your AR15 Bolt Carrier Group (BCG), there are a few common mistakes that many gun owners make. These mistakes can lead to malfunctions, damage to your firearm, or even injury. In this article, we will discuss some of the most common mistakes to avoid when reassembling your AR15 BCG. One of the most common mistakes that people make when reassembling their AR15 BCG is not properly cleaning and lubricating the parts. It is essential to thoroughly clean each component of the BCG and apply a generous amount of high-quality gun oil or lubricant before reassembling it. Failure to do so can result in increased friction, which can cause your firearm to malfunction or even break. Another common mistake is not properly aligning the gas key with the carrier key. The gas key is a crucial component of the BCG that helps to regulate the flow of gas from the barrel to the bolt carrier. If the gas key is not properly aligned with the carrier key, it can cause your firearm to malfunction or fail to cycle properly. To avoid this mistake, make sure that the gas key is aligned with the carrier key before tightening the screws. Many gun owners also make the mistake of over-tightening the screws that hold the gas key in place. While it is essential to ensure that the screws are tight enough to prevent them from coming loose during use, over-tightening them can cause the screws to strip or break. To avoid this mistake, use a torque wrench to tighten the screws to the manufacturer’s specifications. Another common mistake is not properly seating the firing pin retaining pin. The firing pin retaining pin is a small, spring-loaded pin that holds the firing pin in place. If this pin is not properly seated, it can cause the firing pin to become dislodged during use, leading to a malfunction. To avoid this mistake, make sure that the firing pin retaining pin is fully seated before reassembling your BCG. Finally, many gun owners make the mistake of not function testing their AR15 BCG after reassembly. Function testing is essential to ensure that your firearm is functioning correctly and safely. To function test your AR15 BCG, simply cycle the bolt carrier group several times and check for any abnormalities or malfunctions. If you encounter any issues during the function test, disassemble your BCG and reassemble it, paying close attention to the steps outlined in this article. In conclusion, there are several common mistakes that gun owners make when reassembling their AR15 BCG. By avoiding these mistakes and following the tips outlined in this article, you can ensure that your firearm functions correctly and safely. Remember to always clean and lubricate your BCG, properly align the gas key, avoid over-tightening screws, seat the firing pin retaining pin correctly, and function test your BCG after reassembly. By following these guidelines, you can enjoy a smooth and trouble-free shooting experience with your AR15.
Upgrading Your AR15 BCG: What You Need to Know
If you’re a gun enthusiast or a proud owner of an AR15, you probably already know how important it is to properly maintain your firearm. One crucial component of your AR15 is the bolt carrier group (BCG), which plays a vital role in the functioning of your rifle. Whether you’re looking to upgrade your BCG or simply want to learn how to disassemble and reassemble it for cleaning, this comprehensive tutorial will guide you through the process step by step. First and foremost, it’s essential to understand the basic components of the AR15 BCG. The BCG consists of the bolt, bolt carrier, firing pin, cam pin, and retaining pin. These components work together to chamber rounds, extract spent casings, and cycle the rifle. Before you begin disassembling your BCG, make sure your firearm is unloaded and the safety is engaged. To disassemble your AR15 BCG, start by removing the retaining pin located on the side of the bolt carrier. Once the retaining pin is removed, you can slide out the firing pin and cam pin. Next, rotate the bolt cam pin 90 degrees and remove the bolt from the bolt carrier. Be sure to keep track of all the components as you disassemble them to ensure they are properly reassembled later. Cleaning your AR15 BCG is essential to ensure its proper functioning and longevity. Use a solvent and a cleaning brush to remove any carbon buildup and debris from the components. Pay special attention to the bolt face, gas rings, and firing pin channel, as these areas are prone to fouling. Once the components are clean, apply a light coat of lubricant to ensure smooth operation. If you’re looking to upgrade your AR15 BCG, there are a few options to consider. One popular upgrade is a nickel boron or nitride coating, which provides increased lubricity and corrosion resistance. Another option is a lightweight BCG, which can reduce recoil and improve cycling speed. Whichever upgrade you choose, be sure to do your research and select a reputable manufacturer to ensure quality and reliability. Reassembling your AR15 BCG is a straightforward process, but it’s important to pay attention to detail to ensure everything is put back together correctly. Start by inserting the bolt into the bolt carrier and rotating the cam pin 90 degrees. Next, insert the firing pin and cam pin, then reinsert the retaining pin to secure the components in place. Once everything is reassembled, function test your BCG to ensure it cycles properly. In conclusion, proper maintenance and care of your AR15 BCG are essential to the performance and longevity of your rifle. Whether you’re looking to upgrade your BCG or simply want to learn how to disassemble and reassemble it for cleaning, this comprehensive tutorial has provided you with the knowledge and skills to do so. Remember to always follow safety protocols and consult your firearm’s manual for specific instructions. With proper care and maintenance, your AR15 BCG will continue to function reliably for years to come.

Troubleshooting Tips for AR15 BCG Assembly and Disassembly
The AR15 is a popular rifle among gun enthusiasts for its reliability and versatility. One of the key components of the AR15 is the Bolt Carrier Group (BCG), which plays a crucial role in the rifle’s operation. Proper assembly and disassembly of the AR15 BCG is essential for maintaining the rifle’s performance and ensuring its longevity. To begin the assembly process, start by ensuring that all parts of the BCG are clean and free of debris. This will help prevent malfunctions and ensure smooth operation. Begin by inserting the firing pin into the bolt carrier, making sure it is properly aligned. Next, insert the cam pin into the bolt and rotate it to lock it in place. Then, insert the bolt into the bolt carrier, making sure the extractor is properly aligned. Once the bolt is in place, insert the firing pin retaining pin to secure the firing pin. Finally, slide the charging handle into the upper receiver and align it with the BCG. Once everything is properly aligned, push the BCG forward until it locks into place. Your AR15 BCG is now assembled and ready for use. Disassembling the AR15 BCG is just as important as assembling it. Start by removing the charging handle from the upper receiver. Next, pull the BCG rearward until it clears the upper receiver. Once the BCG is removed, separate the bolt from the bolt carrier by pushing out the firing pin retaining pin and removing the firing pin. Then, rotate the cam pin and remove it from the bolt. Finally, remove the bolt from the bolt carrier. Cleaning and inspecting each component of the BCG is crucial for maintaining the rifle’s performance. Use a cleaning solvent and brush to remove any carbon buildup or debris from the BCG. Inspect each part for wear or damage, and replace any components that show signs of wear. Proper maintenance of the BCG will help ensure the rifle operates smoothly and reliably. If you encounter any issues during assembly or disassembly of the AR15 BCG, there are a few troubleshooting tips you can try. If the BCG is difficult to insert into the upper receiver, check to make sure all components are properly aligned. If the BCG is not locking into place, double-check that the cam pin is properly rotated and locked in place. If the BCG is not cycling properly, inspect each component for wear or damage and replace any parts as needed. In conclusion, proper assembly and disassembly of the AR15 BCG is essential for maintaining the rifle’s performance and ensuring its longevity. By following the steps outlined in this tutorial and performing regular maintenance, you can keep your AR15 in top condition. Remember to clean and inspect each component of the BCG regularly, and address any issues promptly to prevent malfunctions. With proper care and maintenance, your AR15 will continue to be a reliable and versatile firearm for years to come.