“Upgrade your ride with custom aftermarket parts for your semi-auto.”
Upgrading Your Trigger for Improved Performance
If you own a semi-automatic firearm and are looking to improve its performance, one of the best upgrades you can make is to install an aftermarket trigger. A high-quality trigger can greatly enhance your shooting experience by providing a smoother, lighter pull and more consistent break. In this article, we will discuss the benefits of upgrading your trigger and provide a step-by-step guide on how to install one yourself.
Before we dive into the installation process, let’s first talk about why upgrading your trigger is so important. The trigger is arguably the most critical component of any firearm, as it is responsible for initiating the firing sequence. A good trigger can make all the difference in accuracy, speed, and overall shooting comfort. Aftermarket triggers are designed to provide a more precise and predictable pull, which can help you shoot more accurately and with greater control.
When choosing an aftermarket trigger, there are a few key factors to consider. First and foremost, you’ll want to look for a trigger that is compatible with your specific make and model of firearm. It’s also important to consider the type of shooting you’ll be doing – whether it’s competitive shooting, hunting, or recreational target practice – as this will help determine the ideal trigger weight and pull length for your needs.
Once you’ve selected the right trigger for your firearm, it’s time to install it. While the process may seem daunting at first, with a bit of patience and attention to detail, you can easily complete the installation yourself. Here’s a step-by-step guide to help you get started:
1. Begin by ensuring that your firearm is unloaded and the magazine is removed. Safety should always be your top priority when working on any firearm.
2. Next, disassemble your firearm according to the manufacturer’s instructions. This will typically involve removing the slide or upper receiver to access the trigger assembly.
3. Once you have access to the trigger assembly, carefully remove the existing trigger by following the manufacturer’s guidelines. Be sure to keep track of any springs or pins that may need to be transferred to the new trigger.
4. Install the new trigger by following the reverse of the removal process. Make sure that all components are properly aligned and seated before reassembling the firearm.
5. Test the new trigger to ensure that it functions correctly. Dry firing the firearm a few times can help you get a feel for the new trigger’s pull weight and break.
6. Finally, reassemble the firearm and perform a function check to ensure that everything is working as it should. If you encounter any issues, double-check your installation and consult the manufacturer’s instructions for troubleshooting tips.
By following these steps, you can easily upgrade your semi-automatic firearm with a new aftermarket trigger. Not only will this improve your shooting performance, but it will also enhance your overall shooting experience. Whether you’re a seasoned shooter or just getting started, a high-quality trigger can make a world of difference in your accuracy and control. So why wait? Upgrade your trigger today and take your shooting to the next level.
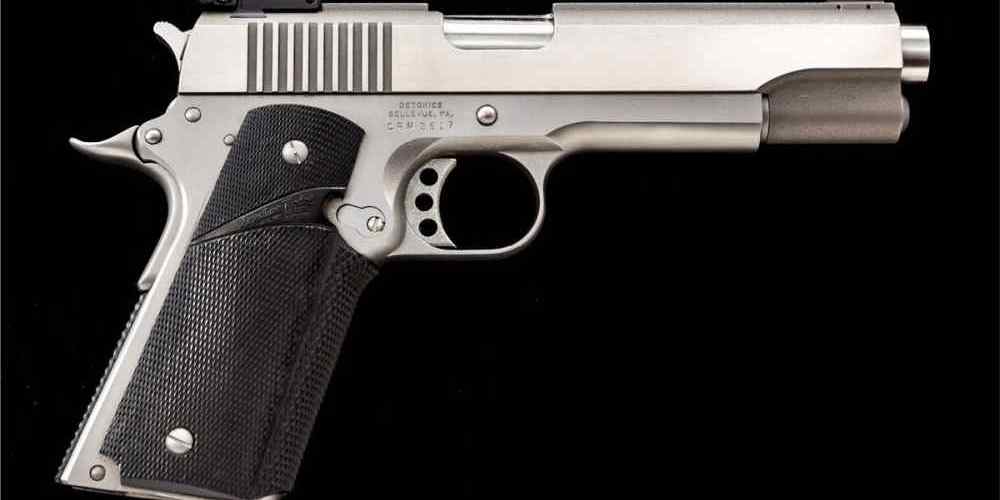
Installing a Customized Slide for Enhanced Aesthetics
When it comes to customizing your semi-automatic firearm, one of the most popular upgrades is installing a customized slide. Not only does a customized slide enhance the aesthetics of your firearm, but it can also improve performance and functionality. In this article, we will discuss the process of installing a customized slide on your semi-auto, as well as the benefits of doing so.
Before you begin the installation process, it is important to ensure that you have the necessary tools and equipment. You will need a gunsmithing tool kit, which typically includes screwdrivers, punches, and other tools specifically designed for working on firearms. Additionally, you will need the customized slide that you wish to install, as well as any other parts or accessories that may be required for the installation.
The first step in installing a customized slide is to field strip your firearm. This involves removing the slide, barrel, and recoil spring from the frame of the gun. Once you have disassembled the firearm, you can begin the process of installing the customized slide.
Carefully align the customized slide with the frame of the gun, ensuring that all components fit together properly. Use the gunsmithing tools to secure the slide to the frame, being careful not to over-tighten any screws or pins. It is important to follow the manufacturer’s instructions for installing the customized slide, as each slide may have specific requirements for installation.
Once the customized slide is securely attached to the frame, reassemble the firearm by replacing the barrel and recoil spring. Test the functionality of the firearm by cycling the slide and ensuring that it moves smoothly and without any obstructions. If everything is in working order, you can test fire the firearm to ensure that the customized slide does not affect the performance of the gun.
There are several benefits to installing a customized slide on your semi-automatic firearm. In addition to enhancing the aesthetics of your firearm, a customized slide can also improve performance and functionality. Many customized slides are designed to be lighter than the factory slide, which can reduce recoil and improve accuracy. Additionally, some customized slides feature enhanced serrations or other grip enhancements, which can improve handling and control of the firearm.
Overall, installing a customized slide on your semi-automatic firearm is a great way to personalize your gun and improve its performance. With the right tools and equipment, the installation process can be relatively simple and straightforward. Whether you are looking to enhance the aesthetics of your firearm or improve its functionality, a customized slide is a great upgrade to consider. So why not take your semi-auto to the next level with a customized slide installation today?
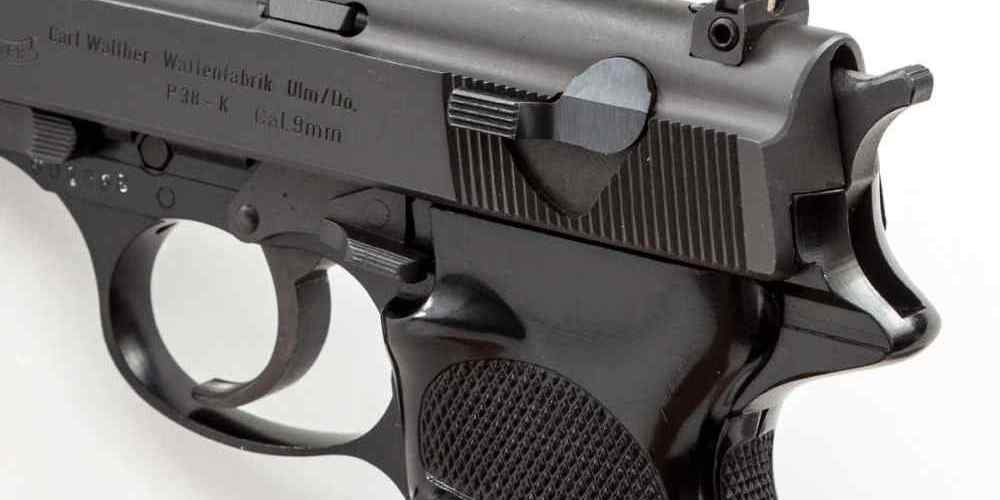
Customizing Your Grips for Better Handling
When it comes to customizing your semi-automatic firearm, one of the most important aspects to consider is the grip. The grip of your firearm plays a crucial role in how well you can handle and control your weapon. Whether you are a competitive shooter, a law enforcement officer, or a casual gun enthusiast, having a comfortable and secure grip on your firearm is essential for accuracy and safety.
There are a variety of aftermarket grips available on the market that can help you customize your semi-auto to fit your hand size and shooting style. From rubberized grips to textured grips, there are options to suit every preference. Installing a new grip on your firearm is a relatively simple process that can be done at home with the right tools and a bit of know-how.
Before you begin the installation process, it is important to ensure that you have the correct grip for your specific make and model of firearm. Most aftermarket grips are designed to fit a specific brand and model, so be sure to double-check that you have the right grip before you start. Once you have the correct grip, gather your tools, including a screwdriver or Allen wrench, and prepare to customize your firearm.
To begin the installation process, first ensure that your firearm is unloaded and the magazine is removed. Next, remove the existing grip from your firearm by unscrewing the screws or bolts that hold it in place. Be sure to keep track of these screws, as you will need them to attach the new grip.
Once the old grip is removed, carefully align the new grip with the screw holes on your firearm. Gently tighten the screws or bolts to secure the new grip in place, being careful not to over-tighten them. It is important to ensure that the grip is securely attached to your firearm to prevent any movement or shifting while shooting.
After installing your new grip, take some time to test it out and see how it feels in your hand. Pay attention to how the grip improves your control and comfort while shooting. If you find that the grip is not quite right, don’t be afraid to experiment with different grips until you find the perfect fit for you.
Customizing your grip is a simple and effective way to improve your shooting experience and enhance your performance on the range. Whether you prefer a more aggressive texture for better grip or a softer rubberized feel for added comfort, there are grips available to suit every preference. By taking the time to install a custom grip on your semi-auto, you can ensure that your firearm fits your hand perfectly and helps you shoot with confidence and precision.
In conclusion, customizing your grip is an important step in personalizing your semi-automatic firearm. By choosing the right grip for your hand size and shooting style, you can improve your control and accuracy while shooting. With a wide range of aftermarket grips available, there is sure to be a grip that suits your needs and preferences. So why wait? Upgrade your grip today and take your shooting to the next level.
Adding a Red Dot Sight for Improved Accuracy
When it comes to customizing your semi-automatic firearm, one of the most popular upgrades is adding a red dot sight. A red dot sight can greatly improve your accuracy and target acquisition, making it a valuable addition to your firearm. In this article, we will discuss the benefits of adding a red dot sight to your semi-auto, as well as provide a step-by-step guide on how to install one.
First and foremost, a red dot sight offers a significant advantage over traditional iron sights. With a red dot sight, you can quickly and easily acquire your target, even in low light conditions or at a distance. The red dot provides a clear aiming point that is easy to see and align with your target, resulting in improved accuracy and faster target acquisition.
Installing a red dot sight on your semi-auto is a relatively simple process that can be done at home with the right tools and a bit of patience. Before you begin, make sure you have the correct mounting hardware for your specific firearm and red dot sight. Most red dot sights come with mounting plates or adapters that are designed to fit a variety of firearms, so be sure to check the compatibility of your sight with your firearm before proceeding.
To begin the installation process, first ensure that your firearm is unloaded and the chamber is clear. Next, remove any existing optics or sights from your firearm, including any mounting hardware. Once the firearm is clear, attach the mounting plate or adapter to the top of your firearm using the provided screws or bolts. Make sure the mounting plate is securely attached and aligned properly with the barrel of your firearm.
Once the mounting plate is in place, carefully attach the red dot sight to the plate using the provided screws or bolts. Be sure to tighten the screws securely to ensure the sight is properly mounted and will not come loose during use. Once the red dot sight is attached, adjust the windage and elevation settings to zero the sight with your firearm. This can be done by adjusting the screws on the sight until the red dot is centered on your target at a known distance.
After zeroing your red dot sight, it is important to test fire your firearm to ensure the sight is properly aligned and functioning correctly. Take your firearm to the range and shoot a few rounds to confirm that the red dot is on target and your accuracy has improved. If necessary, make any adjustments to the sight to fine-tune your accuracy and ensure optimal performance.
In conclusion, adding a red dot sight to your semi-automatic firearm is a great way to improve your accuracy and target acquisition. With a red dot sight, you can quickly and easily acquire your target, even in low light conditions or at a distance. By following the step-by-step guide provided in this article, you can easily install a red dot sight on your firearm and enjoy the benefits of improved accuracy and faster target acquisition. So why wait? Upgrade your semi-auto today and take your shooting to the next level with a red dot sight.
Upgrading Your Magazine Release for Faster Reloads
If you’re looking to improve the performance of your semi-automatic firearm, one of the first upgrades you should consider is replacing the stock magazine release with an aftermarket part. A high-quality magazine release can make a significant difference in how quickly and efficiently you can reload your weapon, especially in high-pressure situations where every second counts.
When it comes to aftermarket magazine releases, there are a wide variety of options available on the market. From extended releases that provide a larger surface area for easier access, to ambidextrous releases that cater to left-handed shooters, there is a release out there to suit every shooter’s needs and preferences.
Installing an aftermarket magazine release is a relatively simple process that can be done at home with just a few basic tools. Before you begin, make sure to clear your firearm and remove the magazine to ensure that it is unloaded. Once you have done so, you can begin disassembling your firearm to access the stock magazine release.
To remove the stock magazine release, you will typically need to use a punch or screwdriver to push out the retaining pin that holds it in place. Once the pin is removed, you can slide out the old release and replace it with the new aftermarket part. Make sure to align the new release properly before reinserting the retaining pin to secure it in place.
Aftermarket magazine releases are designed to provide a smoother and more responsive action than stock releases, making it easier to drop and replace magazines quickly and efficiently. This can be especially beneficial in competitive shooting sports where speed and precision are key, as well as in self-defense situations where every second counts.
In addition to improving the speed and ease of reloading, aftermarket magazine releases can also enhance the overall ergonomics of your firearm. By choosing a release that fits comfortably in your hand and is easy to reach, you can improve your shooting experience and reduce fatigue during extended shooting sessions.
When selecting an aftermarket magazine release, it’s important to choose a reputable manufacturer that produces high-quality parts. Look for releases made from durable materials such as aluminum or steel that are designed to withstand the rigors of regular use. Additionally, consider factors such as the size and shape of the release, as well as any additional features such as textured surfaces or extended levers that can improve grip and control.
Once you have installed your new aftermarket magazine release, take the time to test it out at the range to ensure that it functions properly and meets your expectations. Practice reloading your firearm from various positions and angles to get a feel for how the new release performs under different conditions.
Overall, upgrading your magazine release with an aftermarket part is a simple and cost-effective way to improve the performance and ergonomics of your semi-automatic firearm. Whether you’re a competitive shooter looking to gain an edge on the competition or a recreational shooter looking to enhance your shooting experience, a high-quality magazine release can make a significant difference in how you handle and operate your firearm. So why wait? Upgrade your magazine release today and experience the benefits for yourself.