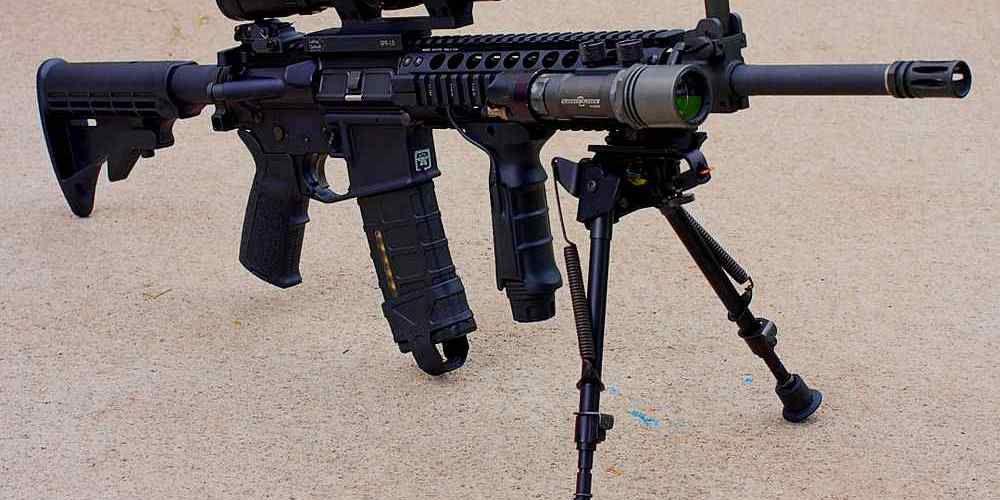
How to Zero Your AR-15 Optics
Zeroing your AR-15 optics is a crucial step in ensuring accuracy and precision when shooting. Whether you are a seasoned shooter or a beginner, understanding the process of zeroing your optics can greatly improve your shooting experience. In this article, we will explore the steps involved in zeroing your AR-15 optics effectively.
Understanding Zeroing
Zeroing refers to the process of aligning the point of aim (POA) with the point of impact (POI) at a specific distance. This ensures that when you aim at a target, the bullet will hit where you intend it to. For AR-15 rifles, zeroing is typically done at a distance of 100 yards, although some shooters may choose to zero at different distances depending on their preferences.
Choosing the Right Optics
Before zeroing your AR-15 optics, it is important to choose the right optics for your needs. There are various types of optics available for AR-15 rifles, including red dot sights, holographic sights, and magnified scopes. Each type of optic has its own advantages and disadvantages, so it is essential to select one that suits your shooting style and preferences.
- Red Dot Sights: Red dot sights are popular for their simplicity and quick target acquisition. They are ideal for close to mid-range shooting.
- Holographic Sights: Holographic sights offer a clear reticle and are suitable for fast-paced shooting scenarios.
- Magnified Scopes: Magnified scopes provide greater accuracy for long-range shooting but may be slower to acquire targets at close distances.
Preparation for Zeroing
Before you begin zeroing your AR-15 optics, ensure that you have the necessary tools and equipment. You will need a stable shooting platform such as a rifle rest or sandbags, as well as a target stand and paper targets. Additionally, make sure that your rifle is properly cleaned and maintained to achieve accurate results during zeroing.
Zeroing Process
The process of zeroing your AR-15 optics involves making adjustments to the windage and elevation settings on your optic until the POA matches the POI at the desired distance. Here are the steps to follow when zeroing your optics:
- Set Up Your Target: Place your target stand at the desired distance (usually 100 yards) and affix a paper target with a clearly visible aiming point.
- Bore Sight Your Rifle: Use a bore sight tool or laser to align your optic with the bore of the rifle. This will get you on paper before making adjustments.
- Fire Three-Shot Groups: Fire three-shot groups at the center of the target and note where each shot hits in relation to the aiming point.
- Adjust Windage and Elevation: Use the adjustment turrets on your optic to move the POI towards the POA. One click typically adjusts 1/4 MOA (Minute of Angle).
- Repeat Until Zeroed: Continue firing groups and making adjustments until your shots consistently hit the aiming point.
Fine-Tuning Your Zero
Once you have zeroed your AR-15 optics at 100 yards, you may want to fine-tune your zero for different distances or environmental conditions. Consider creating ballistic charts or using ballistic calculators to determine holdovers or dial adjustments for shooting at varying distances.
Maintaining Your Zero
After zeroing your AR-15 optics, it is important to periodically check and maintain your zero. Factors such as recoil, temperature changes, or rough handling can affect your zero over time. Make it a habit to confirm your zero before each shooting session or competition to ensure consistent accuracy.
Conclusion
In conclusion, zeroing your AR-15 optics is an essential step in achieving accuracy and precision in shooting. By following the proper process outlined in this article and understanding how different factors can affect your zero, you can improve your shooting performance significantly. Remember to choose the right optics for your needs, prepare adequately for zeroing, and maintain your zero regularly for optimal results.


