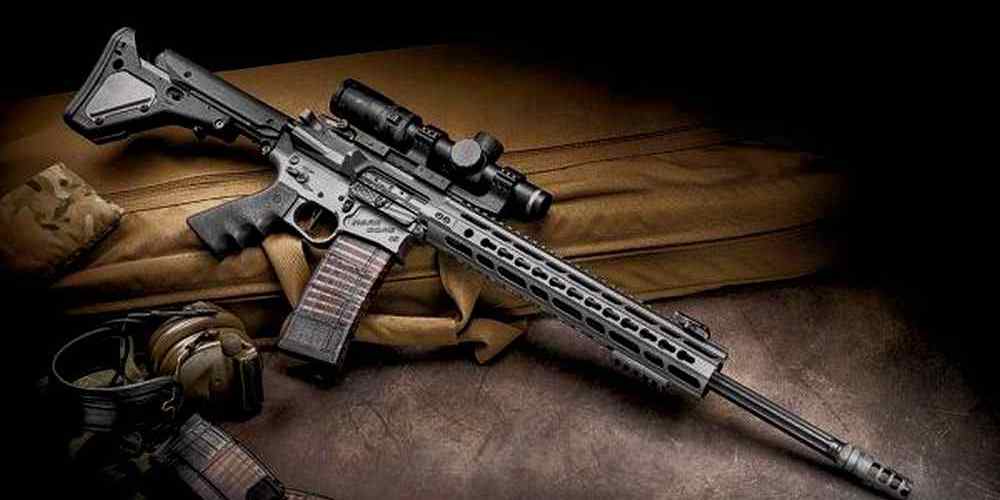
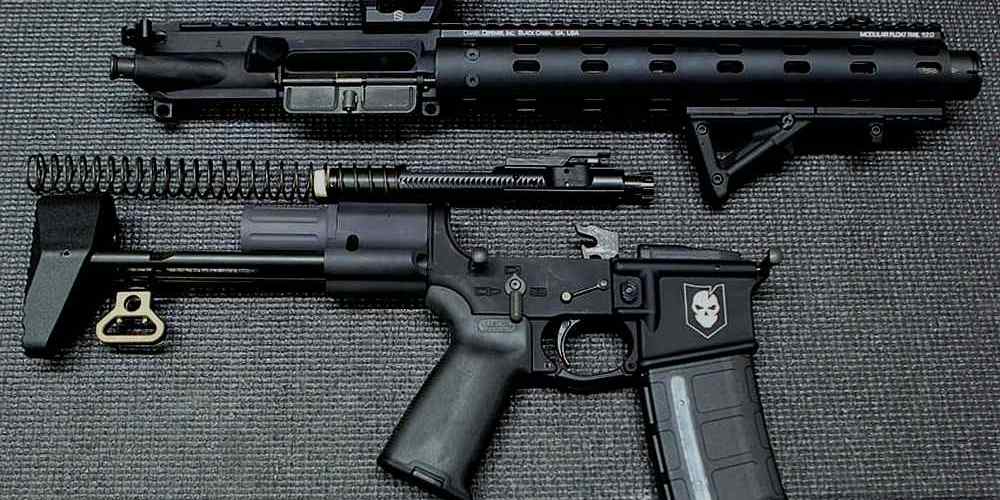
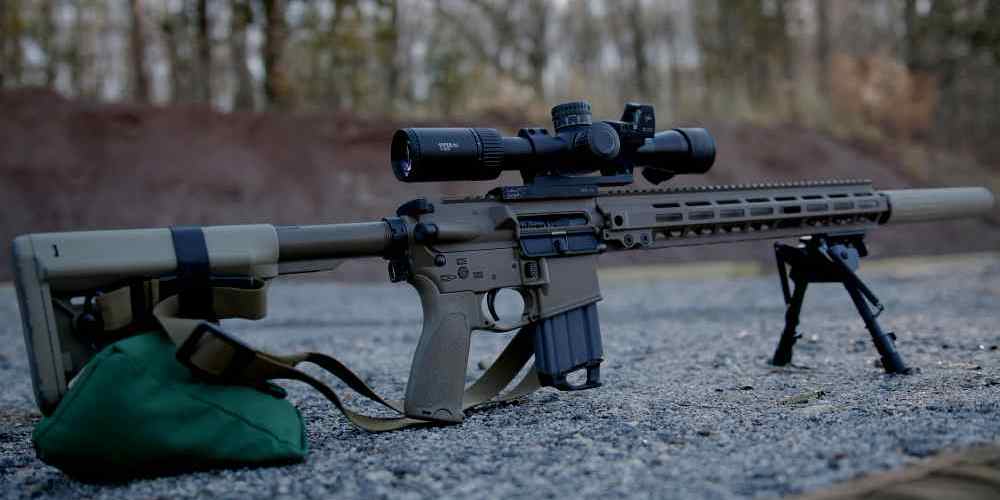
“Transform your AR15 into a work of art with our comprehensive guide to coatings and finishes.”
Pros and Cons of Cerakote Coatings
If you’re an AR15 enthusiast who loves to customize and modify your rifle, then you know that choosing the right coating or finish is an important decision. One popular option that many modders turn to is Cerakote. In this article, we’ll explore the pros and cons of Cerakote coatings to help you make an informed decision for your next project.
Let’s start with the pros. One of the biggest advantages of Cerakote is its durability. This ceramic-based coating is incredibly tough and resistant to wear, corrosion, and chemicals. This means that your AR15 will stay looking great even after heavy use in harsh conditions. Cerakote is also available in a wide range of colors and finishes, allowing you to customize your rifle to your heart’s content.
Another benefit of Cerakote is its versatility. It can be applied to almost any surface, including metal, plastic, and even wood. This makes it a great option for modders who want to coat their entire rifle or just certain parts. Cerakote also offers excellent adhesion, ensuring that the coating will stay put for years to come.
In addition to its durability and versatility, Cerakote is also known for its heat resistance. This makes it a great choice for AR15 owners who like to shoot a lot of rounds in rapid succession. The coating will help protect your rifle from the heat generated during extended shooting sessions.
Now, let’s move on to the cons of Cerakote. One of the main drawbacks of this coating is the cost. Cerakote can be more expensive than other finishes, which may be a deterrent for modders on a budget. However, many enthusiasts believe that the durability and quality of Cerakote justify the higher price tag.
Another potential downside of Cerakote is the application process. While it can be applied at home with the right equipment, it is a time-consuming and labor-intensive process. If you’re not comfortable with DIY projects or don’t have the necessary tools, you may need to hire a professional to apply the coating for you.
Finally, some modders have reported issues with Cerakote chipping or flaking over time. While this is rare, it can happen if the coating is not applied correctly or if the surface was not properly prepared before application. However, these issues can usually be avoided by following the manufacturer’s instructions and taking care of your rifle.
In conclusion, Cerakote coatings offer a range of benefits for AR15 modders, including durability, versatility, and heat resistance. While there are some drawbacks to consider, such as cost and application challenges, many enthusiasts believe that the pros outweigh the cons. If you’re looking for a high-quality finish that will protect and enhance your rifle, Cerakote may be the perfect choice for your next project.

How to Apply DuraCoat Finishes
If you’re an AR15 enthusiast who loves to customize and modify your firearm, then you know that the finish on your gun can make a big difference in both its appearance and performance. One popular option for coating your AR15 is DuraCoat, a durable and versatile finish that can protect your gun from wear and tear while also giving it a unique look. In this guide, we’ll walk you through the process of applying DuraCoat finishes to your AR15 so you can achieve the perfect custom look for your firearm.
Before you begin the application process, it’s important to properly prepare your AR15 for coating. Start by disassembling your gun and thoroughly cleaning all parts with a degreaser to remove any oil, grease, or dirt. Once your gun is clean, use a sandblaster or sandpaper to roughen up the surface of the metal parts to ensure that the DuraCoat adheres properly. After sanding, wipe down the parts with a clean cloth to remove any dust or debris.
Next, it’s time to mix your DuraCoat finish according to the manufacturer’s instructions. DuraCoat comes in two parts – the color and the hardener – which must be mixed together in the correct ratio before application. Once the finish is mixed, you can begin applying it to your AR15 using an airbrush or spray gun. Make sure to apply the DuraCoat in thin, even coats to avoid drips or runs. Allow each coat to dry for at least 30 minutes before applying the next coat.
After you’ve applied the desired number of coats, allow the DuraCoat to cure for at least 24 hours before reassembling your AR15. Once the finish has fully cured, you can reassemble your gun and enjoy your newly customized firearm. DuraCoat finishes are known for their durability and resistance to wear, so you can trust that your custom finish will last for years to come.
In addition to its durability, DuraCoat finishes are also available in a wide range of colors and patterns, allowing you to create a truly unique look for your AR15. Whether you prefer a classic black finish or want to add a pop of color to your gun, DuraCoat has a finish option to suit your style. You can even mix and match colors to create a custom camo pattern or other unique design.
If you’re new to applying finishes to firearms, don’t be intimidated by the process. With a little practice and patience, you can achieve professional-looking results with DuraCoat finishes. Just remember to properly prepare your gun, mix the finish correctly, and apply it in thin, even coats for the best results. And don’t forget to allow the finish to cure fully before reassembling your AR15.
In conclusion, DuraCoat finishes are a great option for customizing and protecting your AR15. With their durability, versatility, and wide range of colors and patterns, DuraCoat finishes allow you to create a truly unique look for your firearm. By following the steps outlined in this guide, you can confidently apply DuraCoat finishes to your AR15 and enjoy a custom finish that will last for years to come. So grab your airbrush and get ready to transform your AR15 with DuraCoat!
Customizing Your AR15 with Hydrographics
If you’re a proud owner of an AR15 and looking to take your customization game to the next level, hydrographics might just be the answer you’ve been searching for. Hydrographics, also known as water transfer printing, is a process that allows you to apply intricate and detailed designs to virtually any surface, including your beloved AR15. In this guide, we’ll walk you through the ins and outs of hydrographics and how you can use it to give your AR15 a unique and eye-catching finish.
One of the key benefits of hydrographics is its versatility. With a wide range of designs and patterns available, you can truly make your AR15 stand out from the crowd. Whether you’re looking for a sleek carbon fiber look, a patriotic American flag design, or a bold camouflage pattern, hydrographics has got you covered. The process involves submerging your AR15 parts in a tank of water that has been specially prepared with the chosen design. The design is then transferred onto the surface of the parts, creating a seamless and durable finish that is sure to turn heads at the range.
In addition to its aesthetic appeal, hydrographics also offers practical benefits. The coating applied during the process provides a protective layer that helps to prevent scratches, chips, and other damage to your AR15. This can be especially useful if you regularly take your rifle out into the field or participate in competitive shooting sports. The coating is also resistant to chemicals and solvents, ensuring that your custom finish will remain looking sharp for years to come.
When it comes to customizing your AR15 with hydrographics, the possibilities are virtually endless. From the receiver to the handguard to the magazine, virtually every part of your rifle can be coated with a unique design. You can mix and match different patterns and colors to create a truly one-of-a-kind look that reflects your personal style and preferences. Whether you prefer a subtle and understated finish or a bold and eye-catching design, hydrographics allows you to bring your vision to life.
In addition to its versatility and durability, hydrographics is also a relatively affordable option for customizing your AR15. Compared to other coating methods such as cerakoting or anodizing, hydrographics is often more cost-effective while still providing a high-quality finish. This makes it a great option for AR15 owners who are looking to personalize their rifle without breaking the bank.
If you’re ready to take your AR15 customization to the next level, consider giving hydrographics a try. With its versatility, durability, and affordability, hydrographics offers a unique and eye-catching way to make your rifle truly your own. Whether you’re a seasoned modder or a newcomer to the world of custom firearms, hydrographics is a great option for adding a personal touch to your AR15. So why wait? Dive into the world of hydrographics and give your AR15 a finish that is as unique as you are.
Benefits of Anodizing for AR15 Parts
If you’re an AR15 enthusiast who loves to customize and modify your rifle, you know that choosing the right coatings and finishes for your parts is crucial. One popular option that many modders swear by is anodizing. Anodizing is an electrochemical process that creates a protective oxide layer on the surface of metal parts, making them more durable and resistant to corrosion. In this article, we’ll explore the benefits of anodizing for AR15 parts and why it’s a great choice for modders looking to enhance the performance and aesthetics of their rifles.
One of the main advantages of anodizing is its ability to increase the hardness and wear resistance of metal parts. The anodized layer is typically much harder than the base metal, which means that your parts will be less prone to scratches, dings, and other forms of damage. This is especially important for AR15 parts that are subjected to heavy use and abuse, such as the bolt carrier group, upper and lower receivers, and handguards. Anodizing can help prolong the lifespan of these parts and keep your rifle looking and functioning like new for years to come.
Another benefit of anodizing is its corrosion resistance properties. The anodized layer acts as a barrier between the metal surface and the elements, preventing moisture, dirt, and other contaminants from causing rust and corrosion. This is particularly important for AR15 parts that are exposed to harsh environmental conditions, such as rain, snow, and saltwater. Anodizing can help protect your rifle from the damaging effects of corrosion, ensuring that it remains reliable and functional even in the most challenging situations.
In addition to its practical benefits, anodizing also offers aesthetic advantages for AR15 modders. Anodized parts come in a wide range of colors, from basic black and grey to vibrant red, blue, and green. This allows you to customize your rifle to suit your personal style and preferences, creating a unique and eye-catching look that sets your rifle apart from the rest. Whether you prefer a sleek and tactical black finish or a bold and colorful design, anodizing gives you the flexibility to express yourself and make your rifle truly your own.
When it comes to durability, anodizing is hard to beat. Unlike paint or other surface coatings that can chip, peel, or wear off over time, anodized parts are bonded to the metal at a molecular level, ensuring long-lasting protection and performance. This means that your rifle will maintain its finish and appearance even after repeated use and cleaning, giving you peace of mind knowing that your investment is well-protected.
In conclusion, anodizing is a fantastic choice for AR15 modders looking to enhance the durability, corrosion resistance, and aesthetics of their rifle parts. Whether you’re a seasoned enthusiast or a beginner looking to customize your first build, anodizing offers a range of benefits that make it a top choice for coating and finishing your AR15 parts. So why settle for ordinary when you can have extraordinary? Upgrade your rifle with anodized parts today and experience the difference for yourself.
Exploring Alternative Coating Options for Your AR15
If you’re an AR15 enthusiast who loves to customize and modify your firearm, you know that the possibilities are endless when it comes to coatings and finishes. While the standard black anodized finish is classic and timeless, there are a plethora of alternative options available that can help you achieve a unique and personalized look for your AR15.
One popular alternative coating option is Cerakote. Cerakote is a ceramic-based finish that is known for its durability and resistance to wear and corrosion. It comes in a wide range of colors and can be applied to almost any surface, including metal, plastic, and wood. Cerakote is also highly customizable, allowing you to create intricate designs and patterns on your AR15.
Another popular coating option is Duracoat. Duracoat is a two-part epoxy-based finish that is known for its durability and flexibility. It can be applied to a variety of surfaces, including metal, plastic, and wood, and comes in a wide range of colors and finishes. Duracoat is also resistant to wear and corrosion, making it an excellent choice for AR15 owners who want a long-lasting finish.
If you’re looking for a more traditional finish, consider using a firearm-specific paint like Aluma-Hyde II. Aluma-Hyde II is a two-part epoxy-based paint that is designed specifically for use on firearms. It is durable, easy to apply, and comes in a variety of colors. Aluma-Hyde II is also resistant to wear and corrosion, making it a great choice for AR15 owners who want a classic finish that will stand the test of time.
For those who want a more unique and eye-catching finish, consider using a hydrographic dip kit. Hydrographic dipping is a process that involves applying a printed film to the surface of an object using water. The film adheres to the surface and creates a seamless and durable finish. Hydrographic dipping is highly customizable, allowing you to choose from a wide range of patterns and designs for your AR15.
No matter which coating or finish you choose for your AR15, it’s important to properly prepare the surface before applying the coating. This includes cleaning and degreasing the surface, sanding or blasting to create a rough texture for the coating to adhere to, and applying a primer if necessary. Proper surface preparation is essential for ensuring a durable and long-lasting finish on your AR15.
When applying the coating, be sure to follow the manufacturer’s instructions carefully. This includes mixing the coating components in the correct ratios, applying the coating in thin and even layers, and allowing sufficient drying time between coats. Proper application is key to achieving a smooth and professional finish on your AR15.
Once the coating has been applied, be sure to properly cure or bake the finish according to the manufacturer’s instructions. Curing the finish will help to ensure maximum durability and resistance to wear and corrosion. After curing, you can further customize your AR15 by adding accessories such as custom grips, stocks, and optics to complete the look.
In conclusion, there are a wide variety of coating and finish options available for AR15 owners who want to customize and personalize their firearm. Whether you choose Cerakote, Duracoat, Aluma-Hyde II, hydrographic dipping, or another coating option, proper surface preparation, application, and curing are essential for achieving a durable and professional finish. With a little time and effort, you can create a one-of-a-kind AR15 that reflects your personal style and taste.


