“Master the AR15 with ease – disassemble and repair like a pro!”
Proper Tools for Disassembling an AR15
When it comes to disassembling and repairing an AR15, having the proper tools is essential. Without the right tools, you may find yourself struggling to take apart your rifle or unable to properly repair any issues that arise. In this guide, we will discuss the tools you need to successfully disassemble and repair your AR15.
One of the most important tools you will need is a set of punches. Punches are used to push out pins and other small components that hold the rifle together. Without punches, you may find it difficult to remove these pins, leading to frustration and potential damage to your rifle. Make sure to have a variety of sizes on hand to accommodate different pin sizes.
Another essential tool for disassembling an AR15 is a set of screwdrivers. While some components of the rifle may be held together with pins, others may require screws to be removed. Having a set of screwdrivers with different sizes and types will ensure that you can easily remove any screws that need to be taken out.
In addition to punches and screwdrivers, having a set of pliers can also be helpful when disassembling an AR15. Pliers can be used to grip and manipulate small components that may be difficult to remove by hand. They can also be useful for bending or straightening parts that may have become damaged.
A cleaning kit is another essential tool for maintaining your AR15. Regular cleaning is important to keep your rifle functioning properly and prevent malfunctions. A cleaning kit typically includes brushes, patches, and cleaning solvents to help you remove dirt, debris, and fouling from your rifle.
A bench block can also be a useful tool when disassembling an AR15. A bench block is a block of material with holes and cutouts that are designed to hold your rifle in place while you work on it. This can help prevent damage to your rifle and make it easier to access and remove components.
Finally, having a set of safety glasses is essential when working on your AR15. Disassembling and repairing a rifle can be a messy job, and small parts or springs may fly out unexpectedly. Wearing safety glasses will help protect your eyes from any debris that may be released during the disassembly process.
In conclusion, having the proper tools is essential for successfully disassembling and repairing an AR15. Punches, screwdrivers, pliers, a cleaning kit, a bench block, and safety glasses are all important tools to have on hand. By ensuring that you have the right tools before you begin working on your rifle, you can make the process easier and more efficient. So, gather your tools, set up your workspace, and get ready to tackle the disassembly and repair of your AR15.

Step-by-Step Guide to Disassembling an AR15
The AR15 is a popular rifle known for its versatility and reliability. Whether you are a seasoned gun owner or a beginner, knowing how to properly disassemble and repair your AR15 is essential. In this guide, we will walk you through the step-by-step process of disassembling an AR15, so you can confidently maintain and repair your firearm.
To begin, ensure that your AR15 is unloaded and the safety is engaged. Remove the magazine and visually inspect the chamber to make sure there are no rounds present. Once you have confirmed the rifle is clear, you can proceed with disassembly.
The first step is to separate the upper and lower receivers. To do this, push out the takedown pin located above the trigger guard. Once the pin is removed, pivot the upper receiver away from the lower receiver. Be careful not to force the receivers apart, as this could cause damage to the rifle.
Next, remove the charging handle by pulling it out of the upper receiver. Then, push out the rear takedown pin located at the back of the receiver. This will allow you to separate the upper receiver from the lower receiver completely.
With the upper receiver removed, you can now access the bolt carrier group (BCG). To remove the BCG, push the charging handle forward to expose the rear of the BCG. Then, pull the charging handle and BCG out of the upper receiver together. Be sure to keep the BCG oriented correctly to avoid damaging the gas key.
Once the BCG is removed, you can disassemble it further by separating the bolt from the carrier. To do this, push the firing pin retaining pin out of the bolt carrier. Then, rotate the cam pin 90 degrees and remove it from the bolt. Finally, slide the bolt out of the carrier.
Inspect each component of the BCG for wear or damage. Clean and lubricate the parts as needed before reassembling the BCG. To reassemble the BCG, simply reverse the disassembly process, making sure each part is properly aligned and seated.
After reassembling the BCG, you can clean the upper and lower receivers with a cleaning solvent and brush. Pay special attention to the chamber and bore to ensure they are free of debris. Once the receivers are clean, you can reassemble the rifle by reversing the disassembly process.
To reassemble the AR15, first insert the BCG back into the upper receiver, making sure the gas key is properly aligned. Then, slide the charging handle back into the upper receiver. Next, align the upper and lower receivers and pivot them together until the takedown pin snaps into place.
Finally, function test the rifle to ensure it is operating correctly. Check the safety, trigger, and magazine release to make sure they are functioning properly. If everything is in working order, your AR15 is ready for use.
By following this step-by-step guide, you can confidently disassemble and repair your AR15. Regular maintenance and proper care will ensure your rifle remains reliable and accurate for years to come. Remember to always follow safety guidelines and consult a professional gunsmith if you encounter any issues beyond your expertise.
Common Issues and Repairs for AR15 Takedown
The AR15 is a popular rifle known for its reliability and versatility. However, like any mechanical device, it can experience issues that require repair. In this guide, we will discuss some common issues that AR15 owners may encounter and how to address them.
One of the most common issues with the AR15 is failure to feed or eject properly. This can be caused by a variety of factors, including dirty or damaged magazines, a dirty or dry bolt carrier group, or improper lubrication. To address this issue, start by checking the magazine for any dirt or debris. If the magazine is clean, move on to inspecting the bolt carrier group. Make sure it is properly lubricated and free of any obstructions. If the issue persists, it may be necessary to disassemble the rifle for a more thorough cleaning.
Another common issue with the AR15 is a loose or wobbly stock. This can be caused by a loose buffer tube or a damaged stock. To address this issue, start by checking the buffer tube for any signs of wear or damage. If the buffer tube is in good condition, check the stock for any cracks or damage. If the stock is damaged, it may need to be replaced. If the buffer tube is loose, it may need to be tightened using a castle nut wrench.
One of the most frustrating issues that AR15 owners may encounter is a failure to fire. This can be caused by a variety of factors, including a dirty or damaged firing pin, a worn-out hammer spring, or improper ammunition. To address this issue, start by checking the firing pin for any dirt or debris. If the firing pin is clean, check the hammer spring for any signs of wear. If the hammer spring is worn out, it may need to be replaced. If the issue persists, try using different ammunition to see if that resolves the problem.
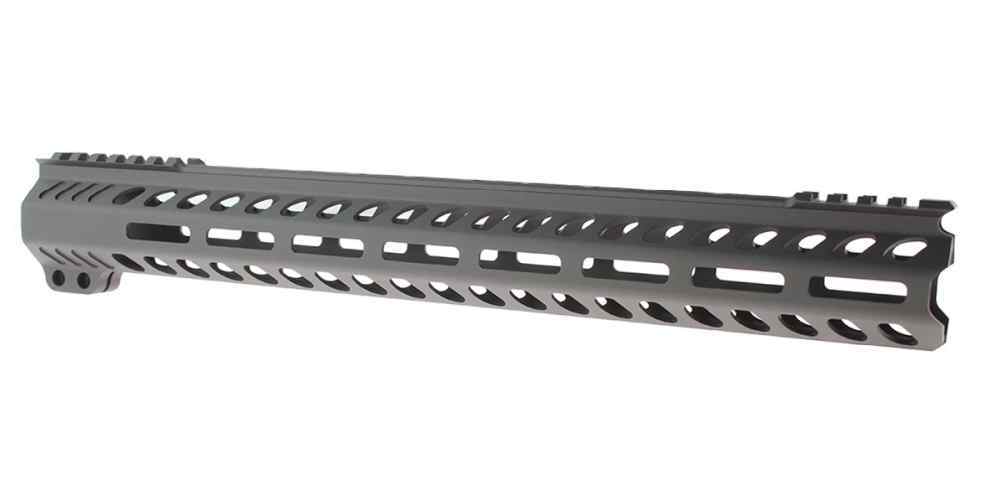
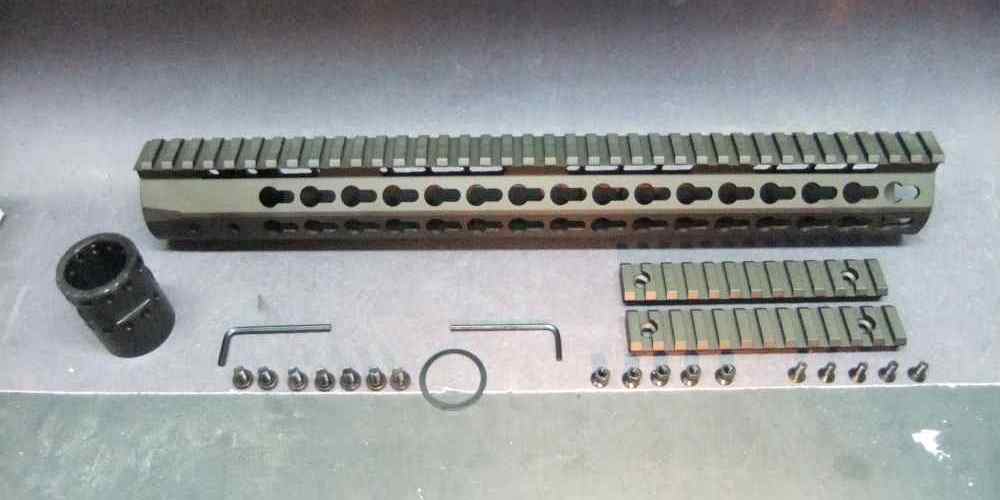
Another common issue with the AR15 is a loose or wobbly handguard. This can be caused by a loose barrel nut or a damaged handguard. To address this issue, start by checking the barrel nut for any signs of wear or damage. If the barrel nut is in good condition, check the handguard for any cracks or damage. If the handguard is damaged, it may need to be replaced. If the barrel nut is loose, it may need to be tightened using a barrel nut wrench.
In conclusion, the AR15 is a reliable and versatile rifle, but like any mechanical device, it can experience issues that require repair. By following the steps outlined in this guide, AR15 owners can address common issues and keep their rifles in top condition. Remember to always follow proper safety procedures when disassembling and repairing your AR15.
Cleaning and Maintenance Tips for AR15 Takedown
The AR15 is a popular rifle known for its versatility and reliability. However, like any firearm, it requires regular cleaning and maintenance to ensure optimal performance. In this article, we will provide a step-by-step guide on how to disassemble and repair your AR15 takedown model.
Before you begin disassembling your AR15, it is important to ensure that the firearm is unloaded and the safety is engaged. Once you have confirmed this, you can start by removing the magazine and pulling the charging handle to the rear to check the chamber for any remaining rounds. Once you have verified that the firearm is empty, you can proceed with the disassembly process.
To disassemble your AR15 takedown, start by pushing out the takedown pin located at the rear of the receiver. Once the pin is removed, you can separate the upper and lower receivers by pulling them apart. Next, remove the charging handle and bolt carrier group from the upper receiver. To do this, simply pull the charging handle to the rear and lift it out of the receiver. Then, push the bolt carrier group forward and lift it out of the receiver as well.
With the upper receiver disassembled, you can now focus on the lower receiver. Start by removing the buffer and buffer spring from the buffer tube. To do this, simply push the buffer retaining pin and remove the buffer and spring. Next, remove the trigger assembly by pushing out the hammer and trigger pins. Once the pins are removed, you can lift out the trigger assembly.
Now that you have successfully disassembled your AR15 takedown, you can proceed with cleaning and maintenance. Start by cleaning all parts of the firearm with a solvent and brush to remove any carbon buildup and debris. Pay special attention to the bolt carrier group and chamber, as these areas tend to accumulate the most fouling.
After cleaning the parts, inspect them for any signs of wear or damage. Replace any worn or damaged parts to ensure the firearm functions properly. Additionally, lubricate all moving parts with a high-quality gun oil to prevent corrosion and ensure smooth operation.
When reassembling your AR15 takedown, follow the disassembly process in reverse. Start by inserting the trigger assembly into the lower receiver and securing it with the hammer and trigger pins. Next, insert the buffer and buffer spring into the buffer tube and secure them with the buffer retaining pin.
Moving on to the upper receiver, insert the bolt carrier group and charging handle back into the receiver. Ensure that the bolt carrier group is properly aligned with the charging handle before reassembling the upper and lower receivers. Finally, reinsert the takedown pin to secure the two receivers together.
In conclusion, regular cleaning and maintenance are essential for keeping your AR15 takedown in top condition. By following the disassembly and repair guide provided in this article, you can ensure that your firearm functions reliably and safely. Remember to always follow proper safety procedures when handling firearms and seek professional help if you are unsure about any aspect of disassembly or repair.
Reassembling an AR15 After Repair or Cleaning
Now that you have successfully disassembled and repaired your AR15, it’s time to put it back together. Reassembling an AR15 can be a bit tricky, but with the right tools and knowledge, you can easily get your rifle back in working order.
Start by laying out all the parts you removed during the disassembly process. Make sure everything is clean and free of any debris or dirt. This will ensure that your rifle functions properly once reassembled.
Begin by inserting the bolt carrier group back into the upper receiver. Make sure the bolt is fully retracted before sliding it back in. Once the bolt carrier group is in place, insert the charging handle back into the upper receiver.
Next, slide the upper receiver onto the lower receiver. Make sure the takedown and pivot pins are aligned properly before pushing them back into place. You may need to apply some pressure to get them to snap back in.
Once the upper and lower receivers are connected, reattach the buffer tube and buffer spring. Make sure the buffer spring is properly seated before screwing the buffer tube back in place.
Now it’s time to reattach the handguard and barrel. Slide the handguard back onto the barrel and secure it in place. Make sure it is aligned properly before tightening any screws or bolts.
Finally, reattach the muzzle device and any other accessories you removed during the disassembly process. Make sure everything is tightened securely to prevent any issues while firing your rifle.
Once everything is back in place, perform a function check to ensure your AR15 is working properly. Check the safety, trigger, and bolt carrier group to make sure everything is functioning as it should.
If you encounter any issues during the reassembly process, refer back to your AR15 manual or seek help from a professional gunsmith. It’s important to make sure your rifle is reassembled correctly to prevent any accidents or malfunctions while shooting.
Remember to clean and maintain your AR15 regularly to keep it in top working condition. Proper maintenance will ensure your rifle lasts for years to come and functions reliably every time you take it out to the range.
In conclusion, reassembling an AR15 after repair or cleaning may seem daunting at first, but with practice and patience, you can easily master the process. Follow these steps carefully and take your time to ensure everything is put back together correctly. With the right tools and knowledge, you can confidently reassemble your AR15 and get back to enjoying shooting sports with a properly functioning rifle.


